
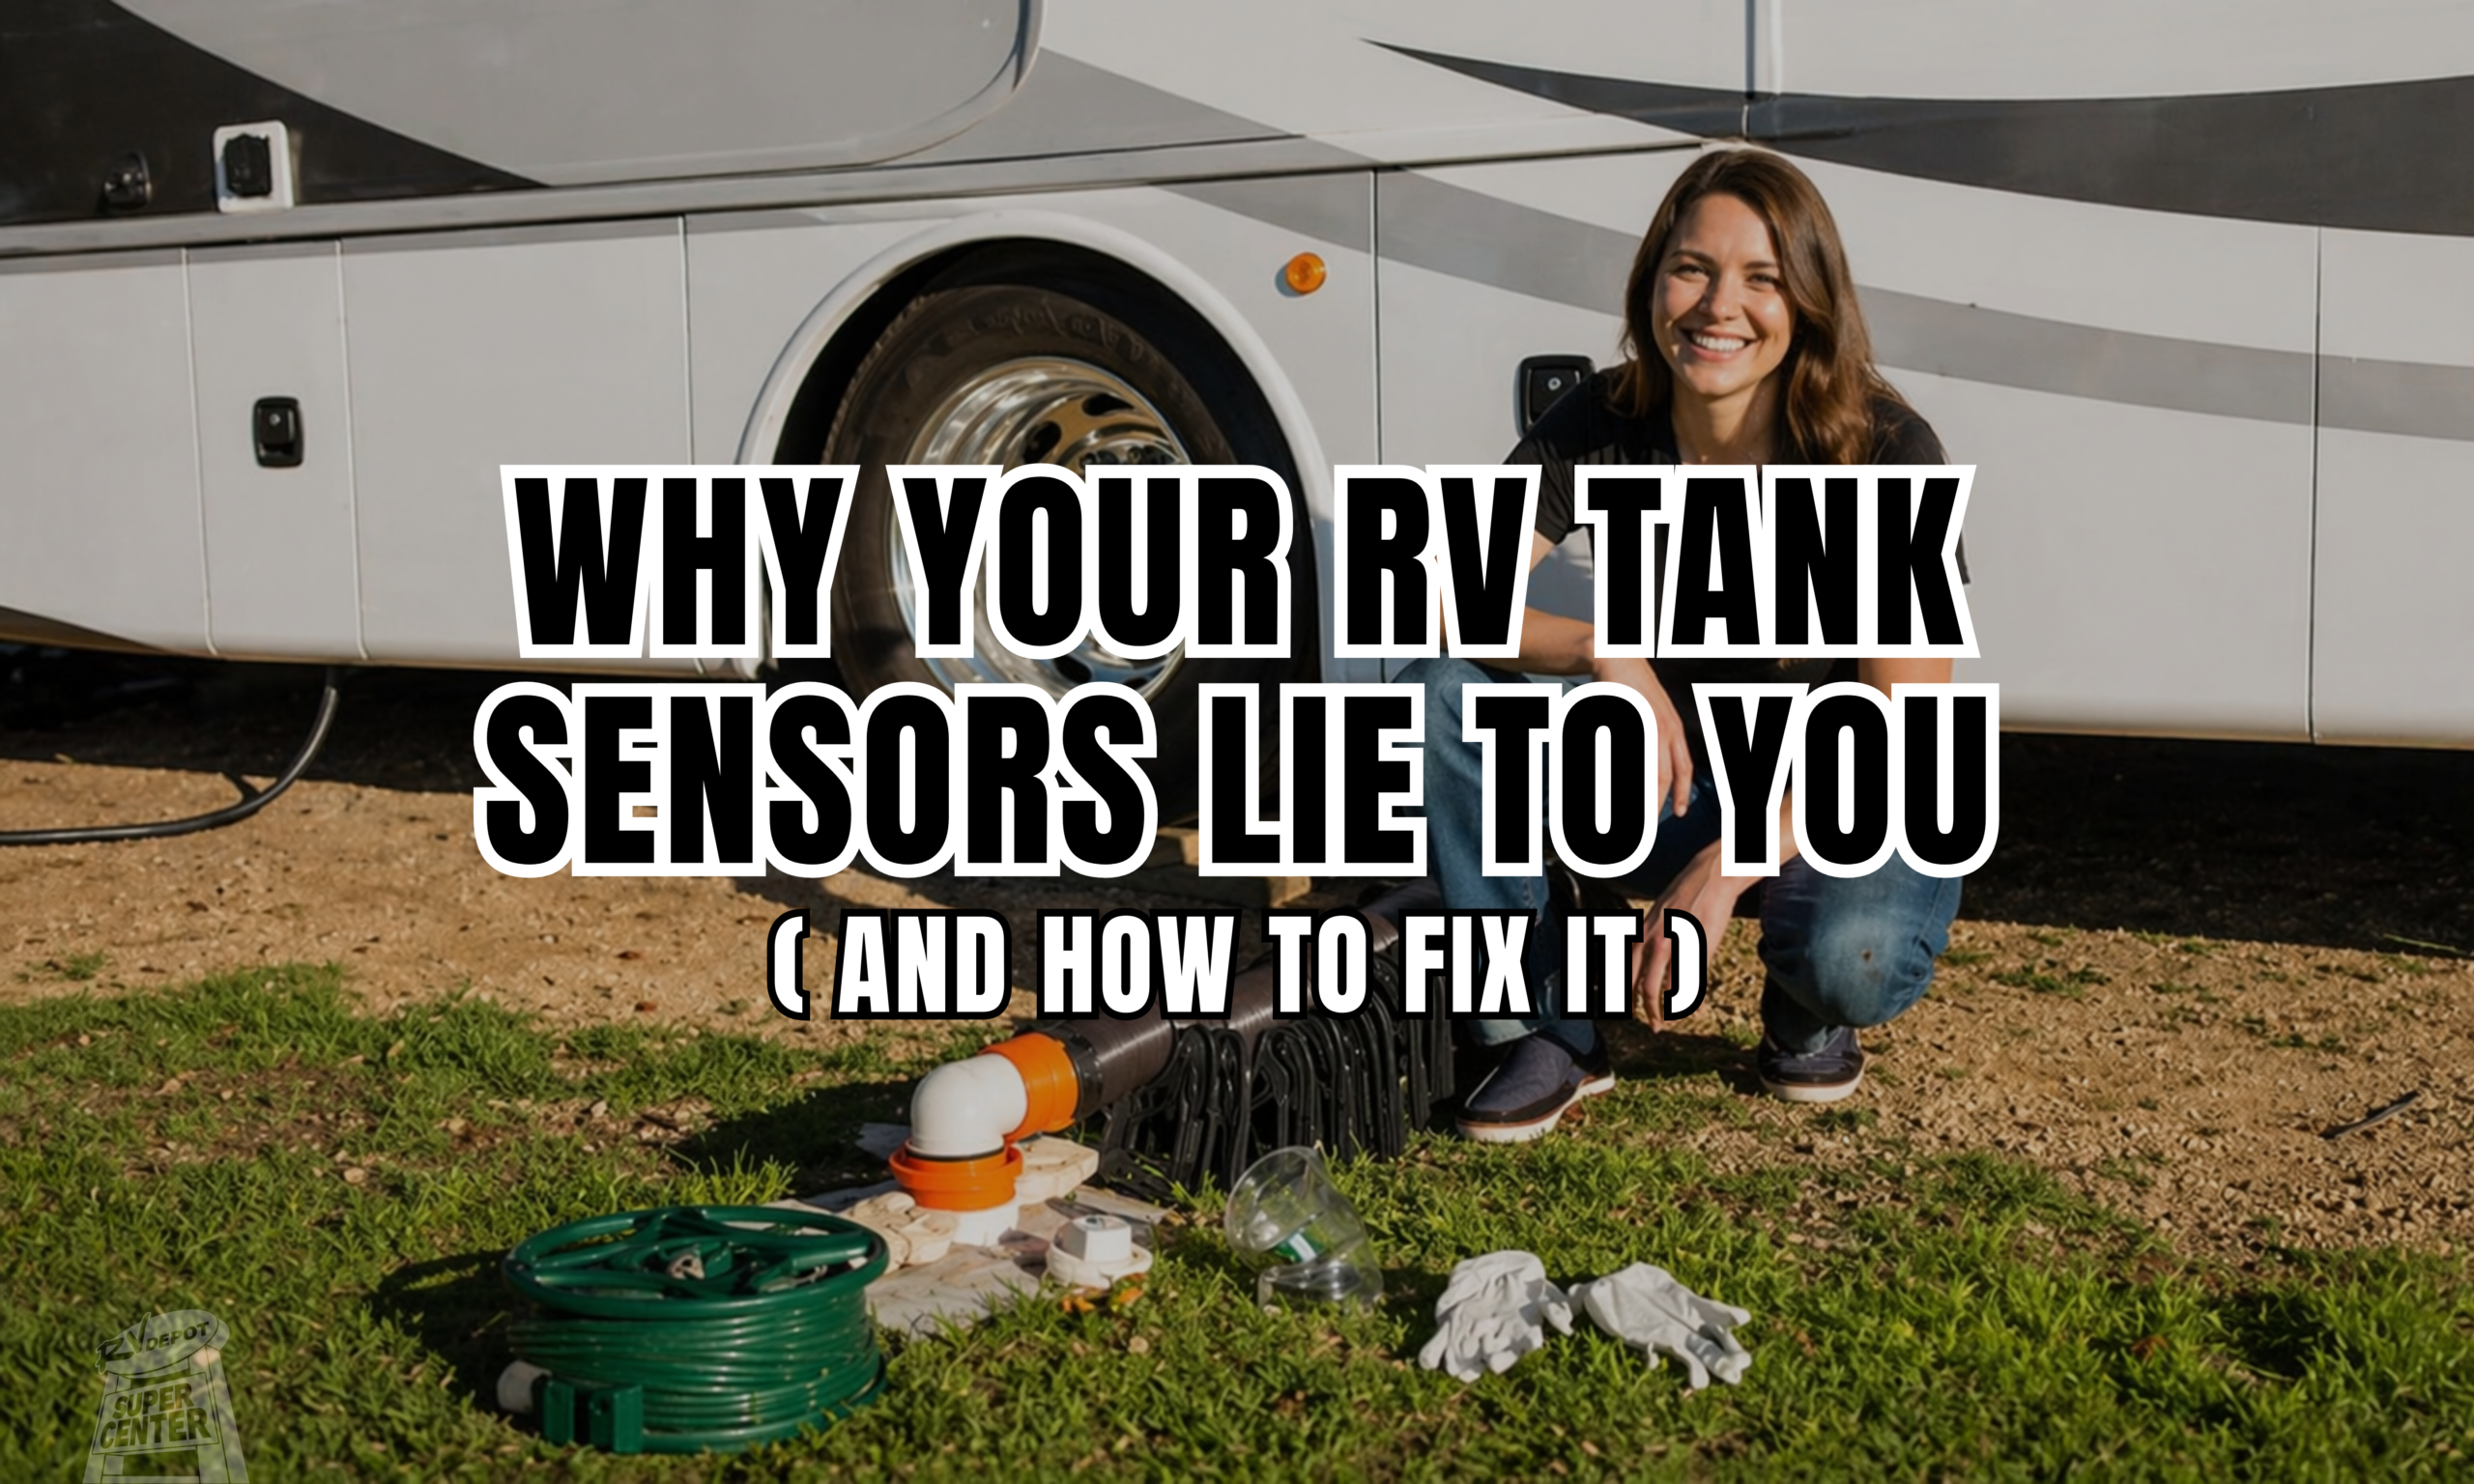
There is nothing quite as frustrating as dumping your black tank at the station, only to look at your monitor and see it still reading two-thirds full. For many RVers, “phantom readings” from a faulty RV tank sensor are just a part of life, but they don’t have to be. Whether you are parked at a luxury resort or boondocking in the Texas backcountry, you need to trust your dashboard.
At RV Depot Supercenter in Cleburne, we see hundreds of rigs come through our service bays with this exact issue. By understanding why these components fail and following a simple maintenance routine, you give your RV tank sensor a better chance at 100% accuracy every time you hit the road.
The Science of the “Bridge” Effect on an RV Tank Sensor
To fix the problem, you first have to understand the hardware. Most standard RVs use through-wall probes. These are simple metal studs that poke into the tank at different heights (usually 1/3, 2/3, and Full). When liquid inside the tank reaches a probe, it completes an electrical circuit, sending a signal to your LED display.
The issue arises when something other than the “water level” completes that circuit. This is known as the “Bridge Effect.” Over time, waste, soap scum, and toilet paper create a damp “sludge bridge” along the interior walls of the tank. Because this sludge holds moisture, it can trick the RV tank sensor into thinking the tank is full even when it is bone dry.
Other common culprits for a malfunctioning RV tank sensor include:
-
Struvite Buildup: These are hard mineral deposits formed from a combination of urine and hard water minerals. They can form a crust over the sensor that is very difficult to remove with standard rinsing.
-
Corrosion: Using harsh, non-RV-safe chemicals (like bleach or heavy ammonia) can eat away at the metal probe, leading to permanent sensor failure.
-
Improper Treatment: Failing to use enough water or using “household” toilet paper that doesn’t break down can lead to debris physically snagging on the sensor.

The Deep Clean Strategy for Your RV Tank Sensor
If your monitor panel is currently giving you false readings, don’t panic. You likely don’t need a mechanical replacement yet. Instead, follow this deep-clean strategy to reset your system.
1. The Power Flush
Empty your tanks completely at a proper dump station. If your rig has a built-in black tank flush, hook up a dedicated hose and run it for at least 15 minutes. If you don’t have a built-in system, we recommend using a “swivel stick” or tank wand. You insert these through the toilet (for black tanks) or the drain (for gray tanks) to manually spray the interior walls directly where the RV tank sensor probes are located.
2. Enzyme-Based Sensor Cleaners
Standard dish soap or basic deodorizers often lack the chemical punch to strip away “FOG” (Fats, Oils, and Grease). Invest in a high-quality, enzyme-based cleaner specifically formulated for RV tank sensor recovery. These enzymes “eat” the organic material causing the bridge effect. For the best results, add the cleaner with 5–10 gallons of fresh water and drive your RV for an hour. The “slosh factor” acts like a giant washing machine, scrubbing the walls and the sensors as you move.
3. The “Ice Cube” Myth vs. Reality
You may have heard the old trick of dumping a bag of ice down the toilet before a drive to “scrub” the tank. While popular, most experts find this largely ineffective as the ice melts too quickly in the Texas heat to do any real scrubbing. A dedicated chemical treatment is far more reliable for a stubborn RV tank sensor.
Troubleshooting Your RV Tank Sensor: Is it Electrical or Physical?
If you have cleaned your tanks and the RV tank sensor is still acting up, it might be time to look at the wiring.
-
Check the Ground: A loose ground wire at the tank can cause all sensors to read “Full” or “Empty” simultaneously.
-
Inspect the Probes: Check the exterior of the tank where the wires connect to the probes. If you see white, crusty corrosion on the outside, clean it with a wire brush and apply a dielectric grease.
-
The Display Panel: Sometimes the issue isn’t the RV tank sensor at all, but a short in the display panel itself. If you suspect an electrical fault, it is best to have a professional diagnostic run.

Maintenance Habits for a Healthy RV Tank Sensor
Preventative care is the only way to avoid the “sludge bridge” in the future. Adopt these four habits to keep your sensors clear:
-
The 75% Rule: Never dump a tank that is less than 3/4 full. You need the “whoosh” factor of a heavy volume of water to carry solids and toilet paper out of the tank. If you dump when it’s only 1/4 full, the liquids leave, but the solids stay behind to bury your RV tank sensor.
-
Water is Your Best Friend: After every dump, immediately add 2–3 gallons of fresh water back into the black tank. This keeps the bottom of the tank wet and prevents the “poop pyramid” from forming.
-
Use RV-Specific Chemicals: Only use treatments that promote waste breakdown. Avoid “home remedies” like pine-sol or bleach, which can damage the rubber seals and the metal of the RV tank sensor.
-
Consider an External Upgrade: If you want to end sensor issues forever, ask our team about external “sonar” style systems. These sensors adhere to the outside of the tank and read the level through the plastic, meaning the RV tank sensor never actually touches waste.

Visit RV Depot Supercenter in Cleburne, TX
Still struggling with a stubborn RV tank sensor? Don’t let a faulty reading turn your next camping trip into a plumbing disaster. At RV Depot Supercenter, we specialize in keeping your RV in peak condition so you can focus on the road ahead.
Whether you need a professional hydro-jet tank cleaning, a sensor replacement, or a full system upgrade, our expert technicians at our Cleburne, Tx location are ready to help.
Contact Us Today:
-
Address: 4319 N. Main St, Cleburne, Tx 76033 Phone:
Stop by and see why we are the preferred choice for RV service in Johnson County. We’ll get your RV tank sensor back in working order so you can travel with confidence!
Ready to Trade Up? Let RV Depot Handle the Headache
If you’re tired of troubleshooting old plumbing, scrubbing sensors, and dealing with the wear and tear of an older rig, it might be time to consider a fresh start. At RV Depot Supercenter, we make upgrading your lifestyle easier than any other dealer in North Texas. Why spend your weekends under the chassis when you could be behind the wheel of a modern unit with a factory-fresh monitoring system?
We are always looking for quality trade-ins to add to our massive inventory in Cleburne. Our team offers top-dollar value for your current RV, and we specialize in helping folks transition into a newer travel trailer, fifth wheel, or toy hauler that actually works when you need it to. Skip the “For Sale by Owner” stress and the endless repair list—visit us at rvdepot.us or pull your rig into our Supercenter at 4319 N. Main St to get a fair trade-in offer on the spot. Your next adventure shouldn’t be defined by your repair manual; let’s get you into a rig that’s ready for the road today.