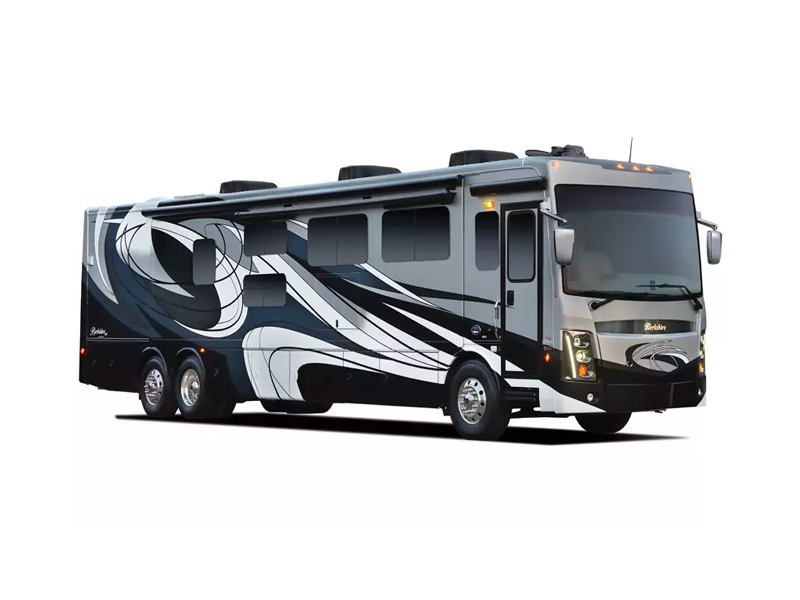
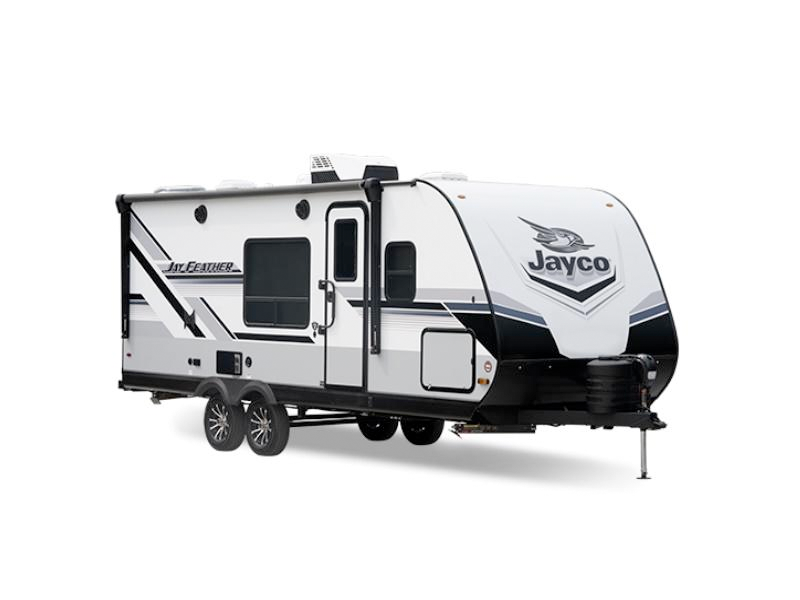
As Texas temperatures start dropping and camping season winds down, proper RV winterization becomes critical for protecting your investment. A single frozen water line can cause thousands in damage, turning your spring camping plans into expensive repair nightmares. Whether you own a compact travel trailer or a luxury motorhome, this comprehensive guide will walk you through every step of professional RV winterization.
At RV Depot Supercenter, with over 400 RVs in our inventory, we’ve seen firsthand what happens when winterization is skipped or done incorrectly. Cracked water lines, destroyed water heaters, and ruined plumbing systems are entirely preventable with proper preparation. Let’s ensure your RV emerges from winter storage ready for adventure, not headed to the repair shop.
Understanding Why RV Winterization Is Non-Negotiable
Your RV’s plumbing system contains dozens of connection points, valves, and components that hold water. When temperatures drop below 32°F, this water expands with tremendous force—enough to split copper pipes, crack plastic fittings, and destroy expensive components like water heaters and pumps.
The Real Cost of Skipping Winterization:
| Component | Replacement Cost | Labor | Total Damage |
| Water Lines (per line) | $50-150 | $100-200 | $150-350 |
| Water Pump | $150-300 | $200-300 | $350-600 |
| Water Heater | $500-1,200 | $300-500 | $800-1,700 |
| Toilet | $150-400 | $150-250 | $300-650 |
| Multiple System Failure | $2,000-5,000 | $1,000-2,000 | $3,000-7,000 |
Compare these costs to professional RV winterization service at $150-$250, and the choice becomes clear.
Step 1: Gather Your RV Winterization Supplies
Before beginning RV winterization, collect all necessary supplies. Having everything ready prevents multiple trips and ensures you don’t skip crucial steps.
Essential Winterization Supplies:
For Antifreeze Method:
- 2-4 gallons RV antifreeze (non-toxic, pink type)
- Water pump converter kit or tubing
- Basic hand tools
- Container for water heater drainage
- New water filter (for spring)
For Air Compressor Method:
- Air compressor with regulator
- Blowout plug adapter
- Pressure gauge (critical for safety)
- Safety glasses
- Antifreeze for traps/toilet
For Both Methods:
- Cleaning supplies
- Moisture absorbers
- Pest deterrents
- Battery tender/disconnect tools
- RV cover (optional but recommended)
Where to Find Supplies:
Visit RV Depot Supercenter’s parts department for all RV winterization supplies. Our knowledgeable staff can recommend exactly what you need for your specific RV model, potentially saving you from buying unnecessary items or missing critical components.
Step 2: Prepare Your Black and Gray Tanks
Your waste tanks need special attention during RV winterization. Leaving any waste residue creates a breeding ground for bacteria and can cause sensors to malfunction.
Proper Tank Preparation:
- Empty at an approved dump station (never on the ground)
- Flush thoroughly using tank cleaning wand
- Add tank treatment if storing over 3 months
- Run clean water through system until clear
- Leave valves OPEN during storage to prevent seal damage
Pro Tip: Add one gallon of RV antifreeze to each tank after cleaning. This prevents any remaining water from freezing and protects valve seals.
Step 3: Drain Your RV’s Complete Water System
The most critical step in RV winterization is removing every drop of water from your system. Water hides in surprising places, and missing even one pocket can cause expensive damage.
Complete Drainage Procedure:
Water Heater Drainage:
- Turn off water heater and let cool (minimum 2 hours)
- Turn off power at breaker
- Open pressure relief valve
- Remove drain plug (expect 6-10 gallons)
- Flush with compressed air if available
Fresh Water System:
- Drain fresh water tank completely
- Open low point drains (hot and cold)
- Open all faucets including outdoor shower
- Flush toilet until no water flows
- Don’t forget ice maker lines and washing machines
Hidden Water Locations Often Missed:
- Water pump housing
- Filter canisters
- Outside spray ports
- Toilet spray attachment
- Shower wand and hose
- Washing machine supply lines
Step 4: Bypass Your Water Heater
Never put antifreeze through your water heater—it’s unnecessary and wasteful. Most RVs built after 2010 include bypass valves, but older models may need a kit installed.
Water Heater Bypass Process:
With Factory Bypass:
- Locate valves (usually behind water heater access)
- Close inlet and outlet valves
- Open bypass valve
- Verify bypass by checking connections
Without Factory Bypass: RV Depot Supercenter’s service department can install a permanent bypass kit, saving you gallons of antifreeze every year and making future RV winterization much easier.
Step 5: Choose Your Winterization Method
Two methods effectively protect your RV’s plumbing. Each has advantages depending on your comfort level and available tools.
Method A: RV Antifreeze (Recommended for Beginners)
Advantages:
- Visual confirmation (pink in all lines)
- No risk of pressure damage
- Works in all RV types
- No special tools needed
Process:
- Install pump converter kit or disconnect inlet
- Place tube in antifreeze container
- Turn on water pump
- Open each faucet until pink appears
- Run through hot and cold sides
- Flush toilet until pink
- Pour cup down each drain
Method B: Compressed Air (Advanced Users)
Advantages:
- No antifreeze taste in spring
- Faster de-winterization
- Environmentally preferable
- Lower annual cost
Critical Safety Steps:
- Set regulator to 35-40 PSI MAX
- Use proper blowout adapter
- Open faucets one at a time
- Start with furthest fixture
- Add antifreeze to P-traps after
Warning: Over 40 PSI can damage plumbing. RV Depot Supercenter offers professional air blowout service if you’re unsure about pressure settings.
Step 6: Protect Your RV’s Exterior
RV winterization extends beyond plumbing. Texas weather brings unique challenges from UV damage to occasional ice storms.
Exterior Protection Checklist:
Seal Inspection:
- Check roof seams and vents
- Inspect window and door seals
- Look for cracks around fixtures
- Apply sealant where needed
- Document any issues for spring
Slide-Out Preparation:
- Clean and lubricate seals
- Apply seal conditioner
- Ensure proper alignment
- Consider slide supports for long storage
Awning Care:
- Clean thoroughly and dry
- Lubricate moving parts
- Secure travel locks
- Consider removing fabric on older units
Step 7: Interior RV Winterization
Moisture is your enemy during storage. Texas humidity combined with temperature fluctuations creates ideal conditions for mold and mildew.
Interior Protection Steps:
Moisture Control:
- Clean all surfaces thoroughly
- Remove all food items
- Place moisture absorbers throughout
- Prop open cabinets and drawers
- Consider small dehumidifier if powered
Appliance Preparation:
- Defrost and clean refrigerator
- Prop doors open with towels
- Clean range and oven
- Remove batteries from devices
- Unplug all electronics
Pest Prevention:
- Seal any openings with steel wool
- Place dryer sheets in drawers
- Remove anything scented
- Consider ultrasonic deterrents
- Check monthly if possible
Step 8: Battery and Electrical System Care
Batteries left connected drain completely over winter, potentially causing permanent damage. Proper RV winterization includes complete electrical system preparation.
Battery Winterization Options:
Option 1: Remove and Store
- Clean terminals with baking soda solution
- Check fluid levels (if applicable)
- Store in cool, dry location
- Connect battery tender
- Check monthly
Option 2: Disconnect in Place
- Turn off all switches
- Disconnect negative cable first
- Clean and protect terminals
- Cover to prevent shorts
- Note: May freeze in extreme cold
Electrical System:
- Turn off main breaker
- Unplug shore power
- Remove portable surge protector
- Check for any draws
- Document switch positions
Step 9: Special Considerations for Motorhomes
Motorized RVs require additional RV winterization steps to protect engines and drive systems.
Engine and Chassis Preparation:
Fuel System:
- Fill tank to prevent condensation
- Add fuel stabilizer
- Run engine 10-15 minutes
- Check all fluid levels
- Change oil if due
Tire Care:
- Inflate to maximum PSI
- Cover if possible
- Move monthly if able
- Consider jack stands for long storage
- Check tread and sidewalls
Additional Systems:
- Check coolant freeze protection
- Service generator
- Fog engine cylinders (diesel)
- Lubricate chassis points
- Test all operations
Step 10: Final Walk-Through and Documentation
The last step of proper RV winterization is often overlooked but proves invaluable come spring.
Pre-Storage Checklist:
Document Everything:
- Photo all valve positions
- Note any existing issues
- Record fluid levels
- Save receipts for supplies
- Create spring checklist
Security Measures:
- Remove valuables
- Lock all compartments
- Consider wheel locks
- Install security system
- Notify insurance company
Final Verification:
- All water drained/antifreezed
- Batteries addressed
- Tanks cleaned
- Exterior sealed
- Cover installed properly
Professional RV Winterization at RV Depot Supercenter
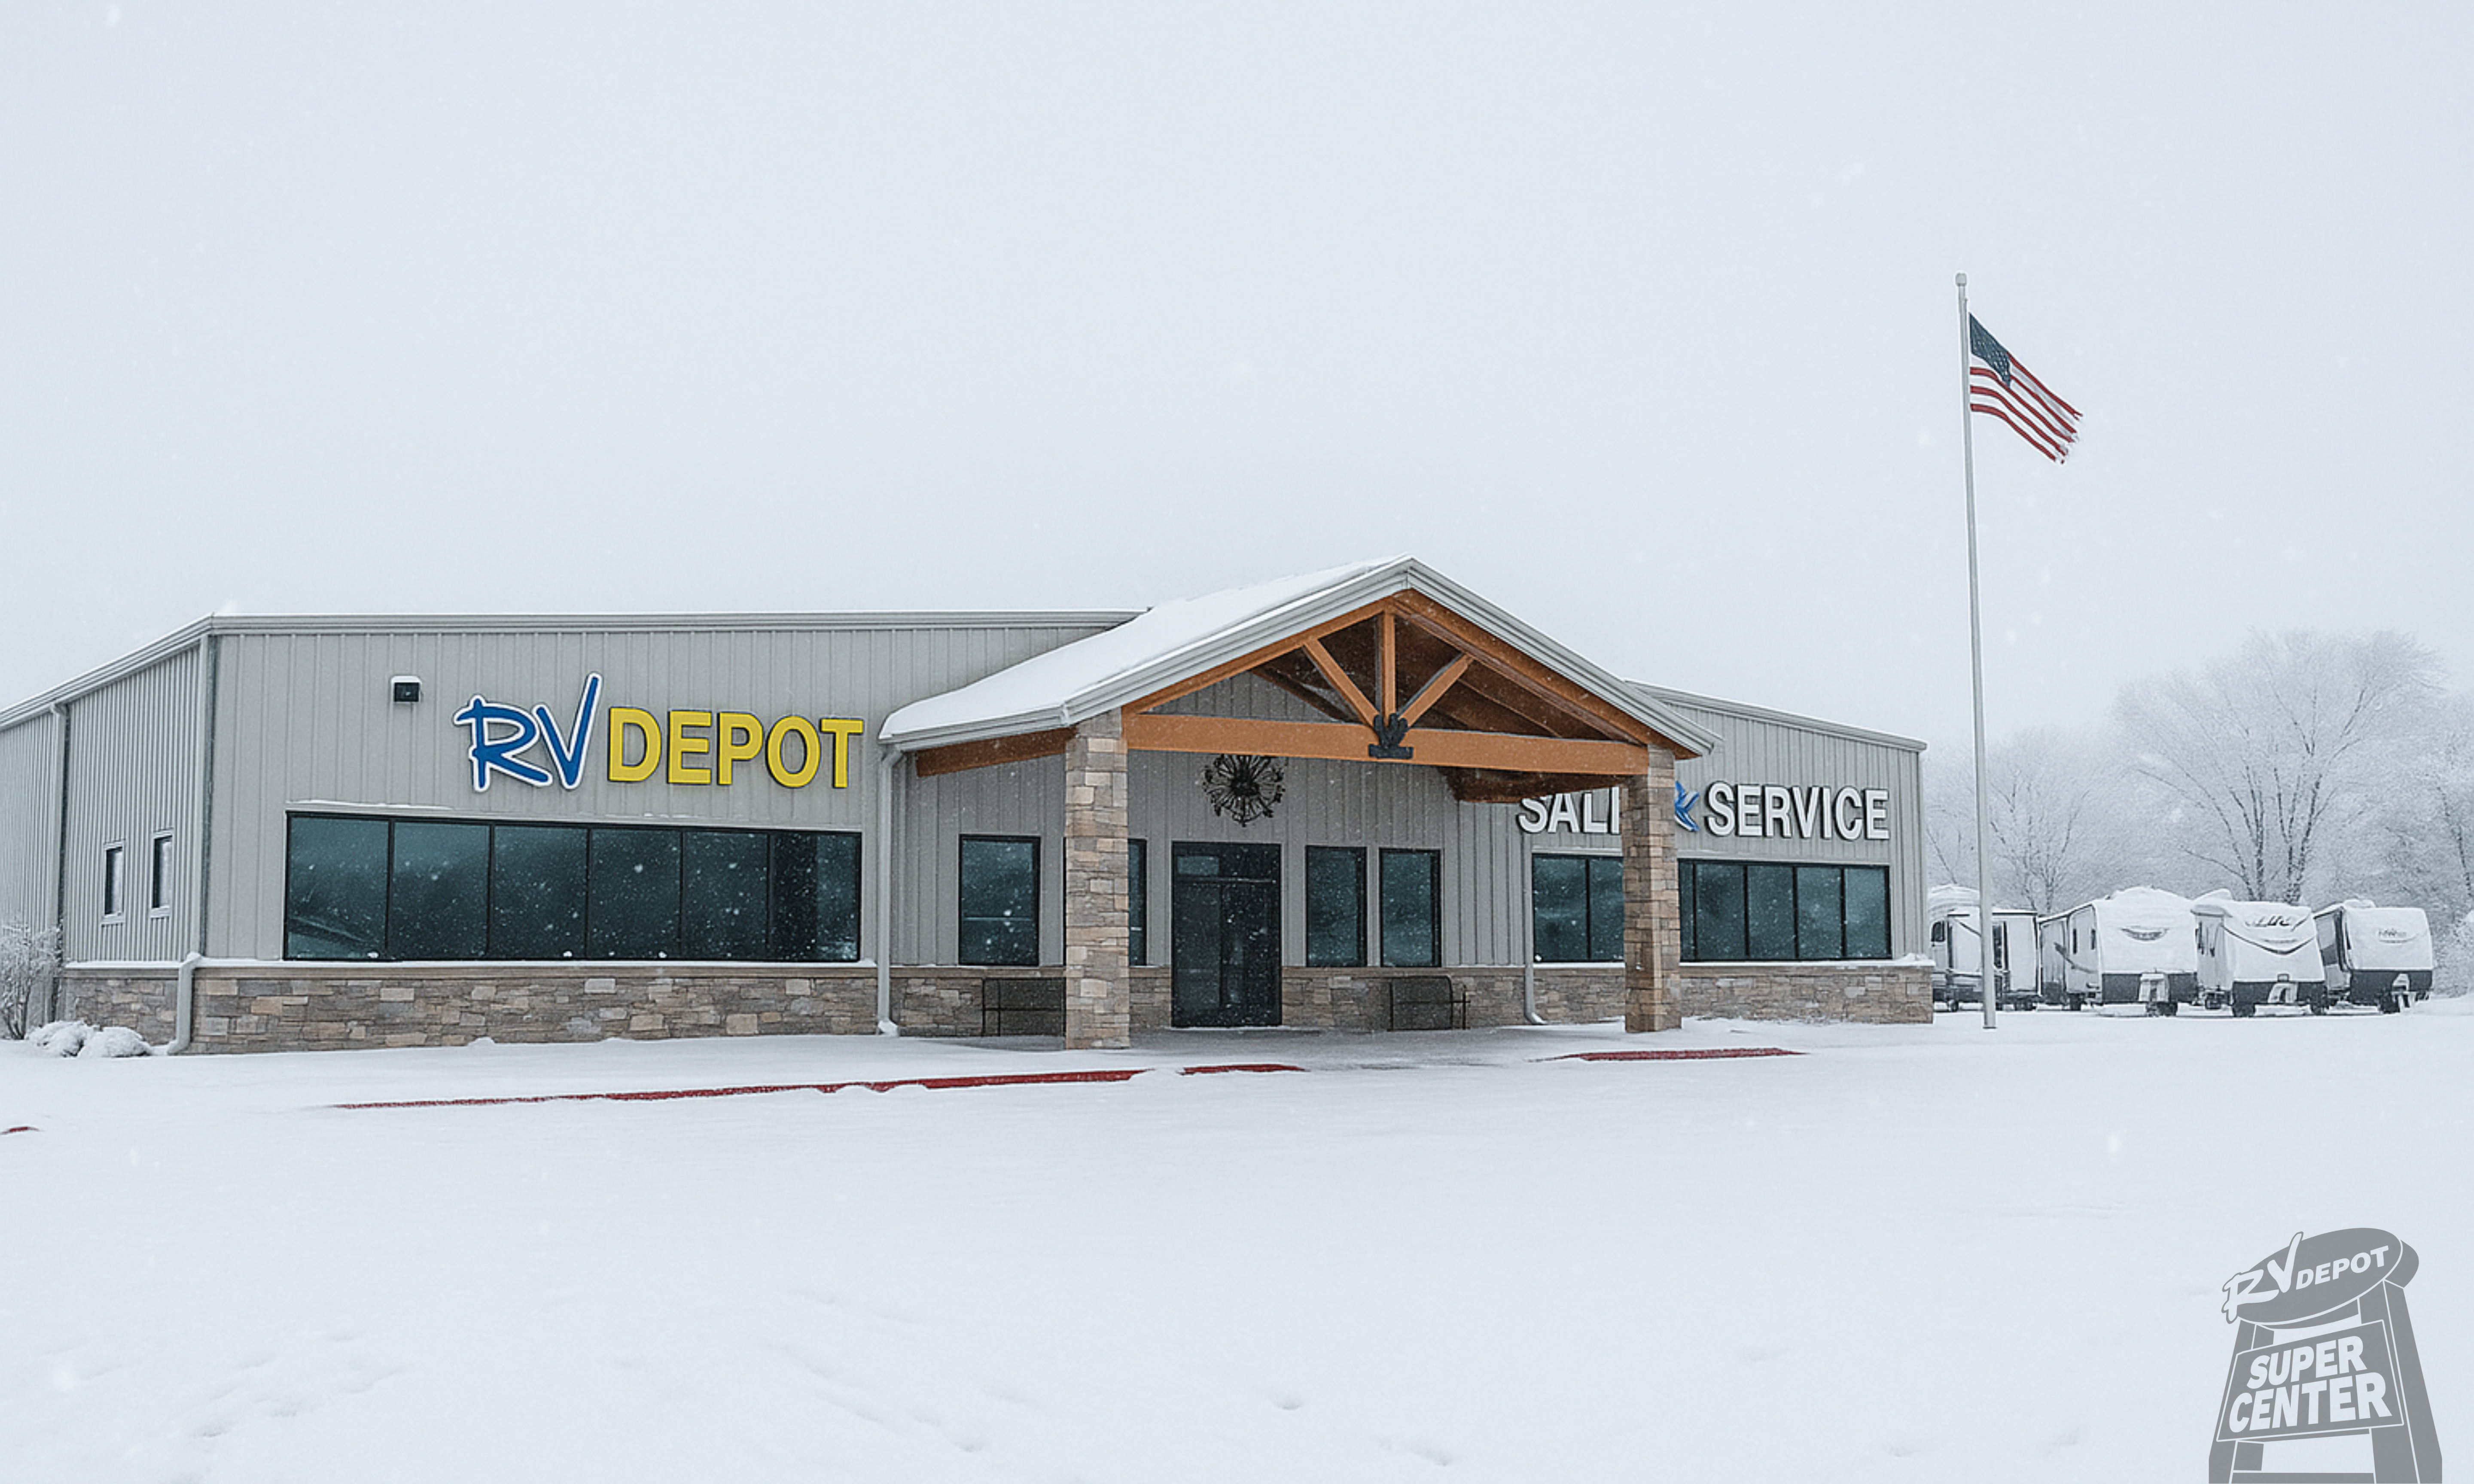
While many RV owners successfully winterize their own units, professional service offers peace of mind and expertise. Our certified technicians at RV Depot Supercenter provide comprehensive RV winterization services.
With over 400 RVs in our inventory, our technicians see every possible configuration and know the quirks of each model. They catch issues DIY winterization might miss, potentially saving thousands in spring repairs. Plus, our service includes warranty coverage—if anything freezes despite our winterization, we’ll handle it.
Schedule Your RV Winterization Today
Don’t wait for the first freeze warning. Whether you’re a DIY enthusiast or prefer professional service, RV Depot Supercenter has everything you need for proper RV winterization.
Visit Our Supercenter:
📍 Location: 4319 N. Main St, Cleburne, TX 76033 📞 Service Scheduling: (817) 221-0660 🛒 Parts Department: Full winterization supplies in stock ⏰ Service Hours: Monday-Saturday (call for current times)
Why RV Owners Trust RV Depot Supercenter:
- Largest parts inventory in the area
- Factory-trained technicians
- Experience with all makes and models
- Transparent pricing
- Quick turnaround times
Remember, proper RV winterization isn’t an expense—it’s protection for your investment and peace of mind for your spring adventures. Let our expertise work for you.
Planning to upgrade your RV? Winter is the perfect time to browse our selection of 400+ units. Our knowledgeable staff can help you find the perfect RV for your next adventure while your current one sleeps safely through winter.


